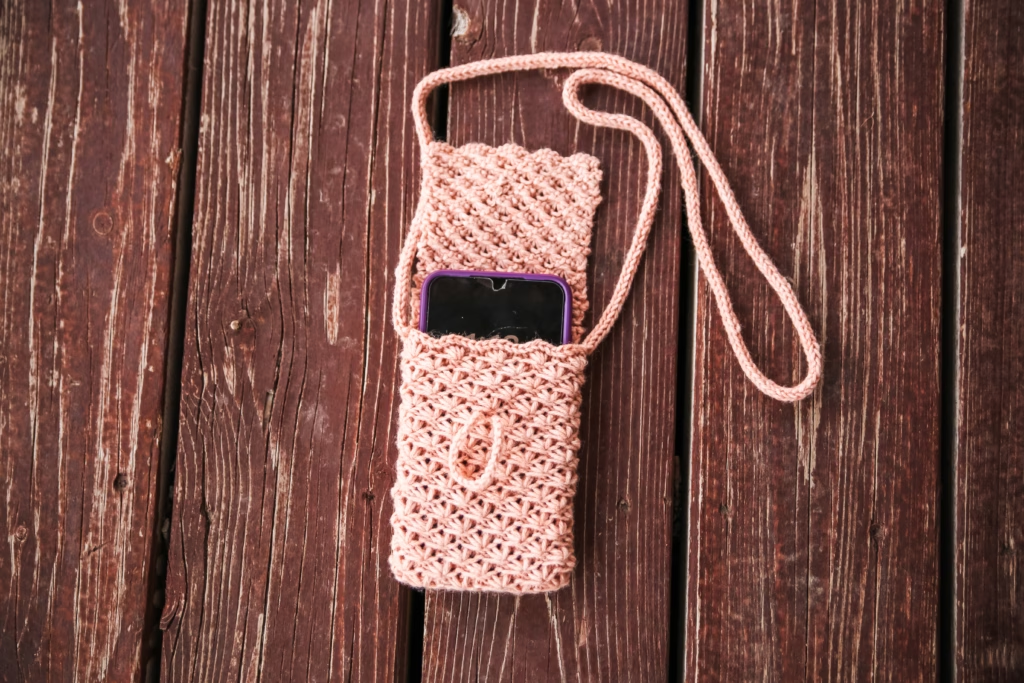
Looking for a knit phone bag pattern that is small, practical, and a little more interesting than plain stockinette? The Shell Phone Bag is a fun free purse knitting pattern that turns one simple rectangle into a cute little crossbody pouch that is just right for carrying your phone.
This small knitted bag uses the p5togm5 stitch to create rows of tiny textured shells across the fabric. Once the knitting is finished, the rectangle is sewn together to form the bag, and an i-cord strap finishes it off. The construction itself is wonderfully simple, but the shell stitch gives you enough to think about that I would not call this a beginner knitting pattern.
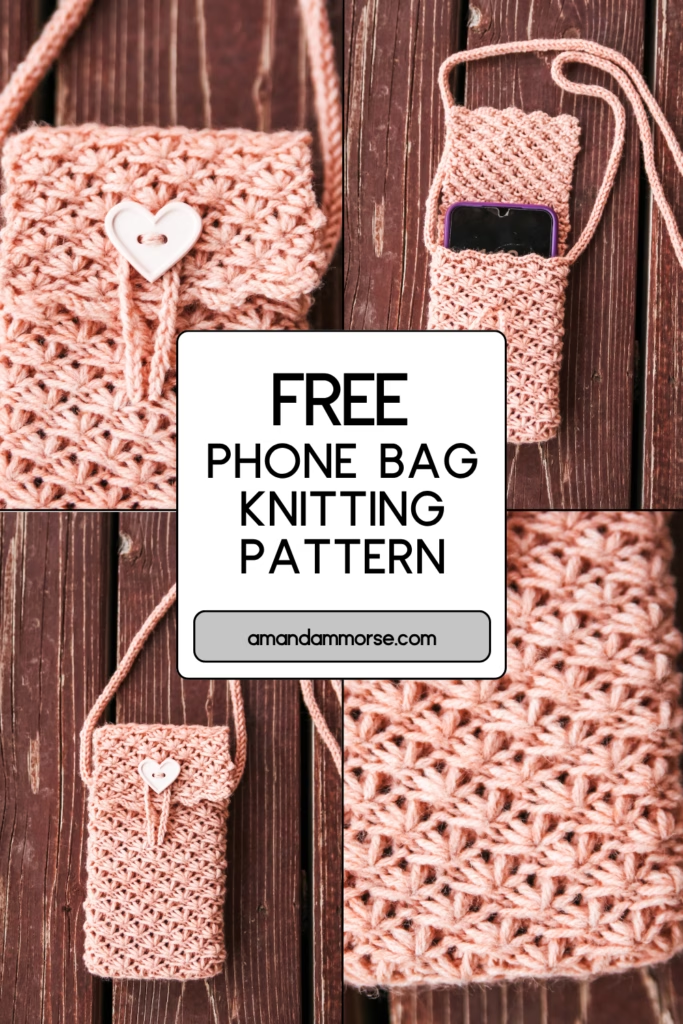
If you have been wanting a quick knitted pouch project with plenty of texture, this one is such a fun choice. The shell pattern does all the decorative work, so you can keep the shape of the bag simple and let those pretty little stitches be the star.
It is also a nice project when you want to make something useful without committing to a full-size handbag. Your finished phone pouch is compact, easy to wear, and perfect for those days when you only need to carry a few essentials.
What yarn and needles do you need for this knit phone bag pattern?
I made my Shell Phone Bag with KnitPicks Heatherly and size 5 knitting needles. The yarn gives the shell texture a soft, cozy look while still allowing all of those little bumps and curves to show.
Because this knitted phone bag gets its personality from the stitch pattern, you will want a yarn that gives you nice stitch definition. A yarn that is extremely fuzzy could hide some of the texture, while something smooth enough to show the shells will really let the pattern shine.
The small size also makes this a fun project for playing with color. You can keep it classic and neutral, choose a bright color for a statement bag, or pick a shade that works with your everyday wardrobe.
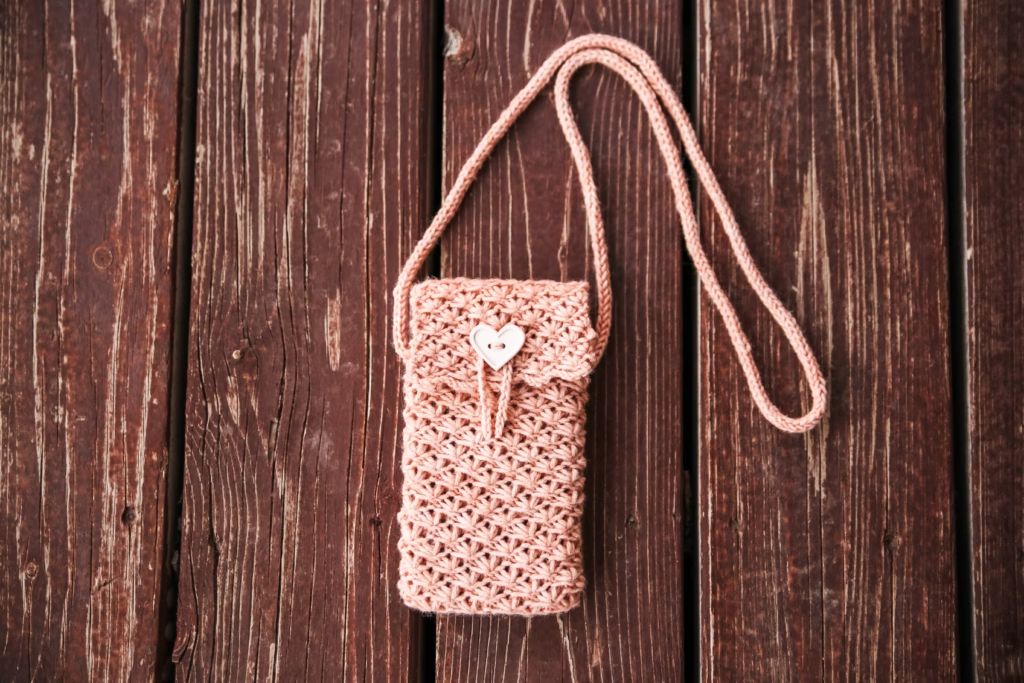
You will also need your usual finishing supplies for sewing the rectangle together and weaving in the ends. Once the main bag is assembled, the knitted i-cord becomes the strap, so there is no separate purchased handle or strap required.
That keeps the whole project feeling wonderfully handmade from beginning to end.
How do you knit and assemble the Shell Phone Bag?
The basic construction could not be much simpler: you are knitting a rectangle and then sewing it together to create the pouch. What makes this small knitted bag pattern more interesting is the p5togm5 stitch used throughout the fabric.
That stitch creates the little shell shapes that give the bag its name. Because you are working several stitches together and then making stitches back into them, you will want to pay attention to your stitch placement and take your time until you get comfortable with the rhythm.
This is one of those patterns where the construction is easy to understand, but the stitch technique bumps it beyond true beginner territory. If you already feel comfortable following a stitch pattern and manipulating several stitches together, it makes a really satisfying little project.
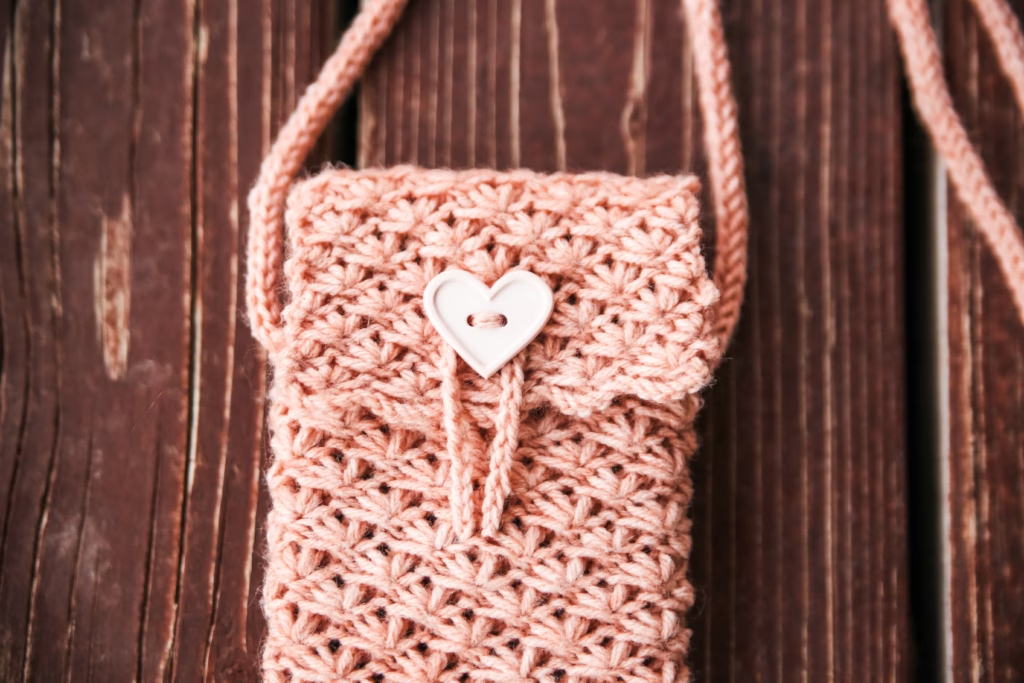
After you finish the rectangle, you will seam it to create the phone pouch shape. Taking a little extra care with your seam will help the finished bag look neat and keep the shell texture lined up nicely along the edges.
The final step is the i-cord strap. It gives the bag a clean knitted finish and turns your little pouch into an easy crossbody-style bag you can grab whenever you want to travel light.
What should you knit after this free phone bag pattern?
If this Shell Phone Bag has you wanting to knit even more small bags, there are plenty of fun directions you can go next. I have several free purse knitting patterns that are perfect when you want another useful accessory project.
Here are a few to add to your knitting list:
Each one gives you a slightly different style and knitting experience, so you can keep building your handmade bag collection without making the exact same project over and over again.
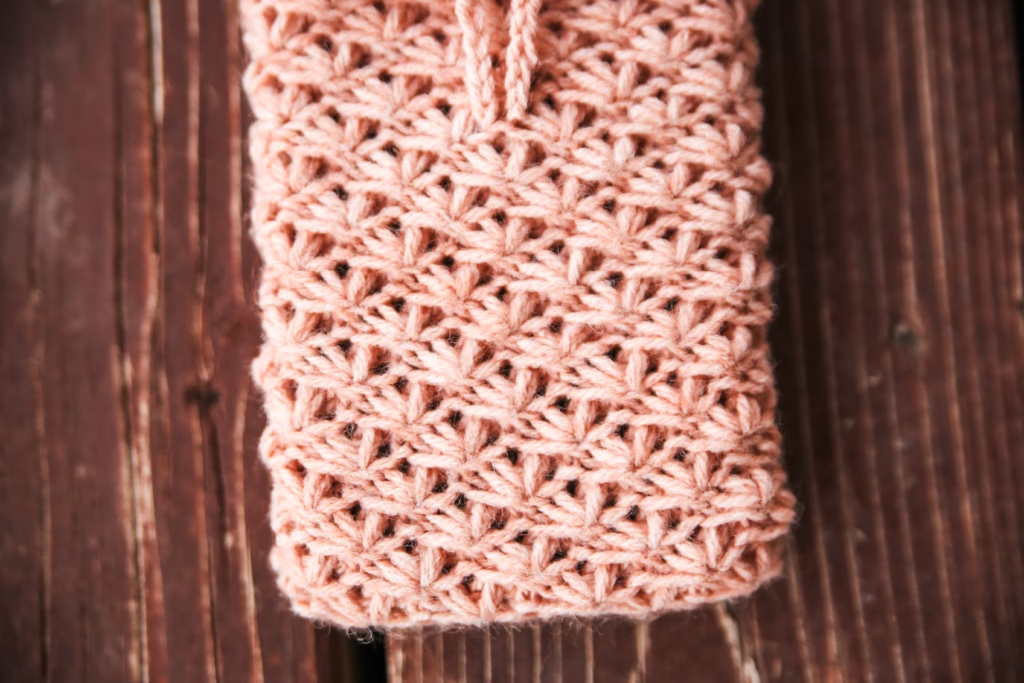
The Shell Phone Bag is especially fun when you want something compact, textured, and practical. It has a simple shape, an interesting stitch pattern, and a finished size that makes it easy to actually use once it comes off your needles.
Free Shell Phone Bag Pattern
MATERIALS AND INFO
Materials: 100-150yds of Knitpicks Heatherly Sport, yarn needle, stitch markers, button of choice
Optional materials: 3.75mm crochet hook
Needle Size: 5(US) 3.75mm needles
Gauge (tension): 32sts x 36rows to make 4in/10cm square in shell stitch pattern
Finished Measurement: 9x9x1.5in or 23x23x4cms
METHOD
This pattern is worked in 1 piece, working flat. It is sewn together at the end to form the shape. The strap is an icord. You will add a decorative button of your size choice at the end and then make a loop as a closure for the button. You can use scraps if you wish, but I would avoid cotton. Cotton will stretch over time and the strap will end up far too long after a few uses.
- MAIN BODY OF BAG
Cast on 31sts
Row 1: Purl across
Row 2: P1, [p5togm5, p1] repeat [to] across
Row 3: Purl across
Row 4: P3togm3, p1, [p5togm5, p1] repeat [to] across to last 3 sts, p3togm3.
Work these 4 rows for a total of 14.5ins ending after completing a round 3.
Bind off. - FINISHING
Lay the finished rectangle flat with the wrong side facing up. Measure 10 ins/25cms up from one short end and fold the rectangle to this point, bringing the bottom edge up to form the front of the purse. This will create a flap about 4½ ins/11cms long.
Line up the side edges of the front and back. Using a yarn needle and matching yarn, sew the side edges together securely, beginning at the bottom fold and working up to the top edge of the purse. Repeat along the other side.
Leave the remaining 4½-in/11cm section unseamed. This section will fold down over the front of the purse to form the flap.
Center the button on the front of the flap near the lower edge and sew it securely in place with matching yarn. Stitch through the button several times so it is firmly attached, then weave in the ends on the wrong side of the flap.
To make the closure loop, create a simple chain for 4ins/10cms.
With a crochet hook: Make a slip knot and place it on the hook. Yarn over and pull the yarn through the loop on the hook to make one chain. Continue making chain stitches until the chain is long enough to slip over the button easily.
With your fingers: Make a slip knot, leaving a loop large enough to pull yarn through with your fingers. Reach through the loop, grab the working yarn, and pull a new loop through. Continue pulling a new loop of yarn through the previous loop until the chain is the desired length.
Fasten off, leaving yarn tails for sewing. Form the chain into a loop and sew both ends securely to the center front of the purse, positioning it so that when the flap is closed, the loop stretches up and over the button. Weave in all ends securely. - STRAP
Cast on 3 sts leaving a long enough end to sew the strap on.
Do not turn your work. Instead, slide the stitches to the opposite end of the needle so the working yarn is coming from the left side of the stitches.
Bring the working yarn firmly across the back of the stitches and knit all stitches.
Again, do not turn. Slide the stitches back to the opposite end of the needle, pull the working yarn snug across the back, and knit all stitches.
Repeat these steps until the I-cord reaches the desired length. Gently tug the cord every few rows to help the stitches settle into a smooth, rounded tube.
Continue as above until your cord is 42ins/105cms or desired length. Remember, the icord will stretch a bit once the weight of your phone has been added to the bag so you want it to be a little shorter than your hip. I knit min so the bag would sit at my natural waist before adding my phone in. It ended up perfectly at my hip with my phone in it.
Bind off, leaving a long enough tail to sew the strap on.
Position one end of the strap along the top edge of the purse, beside the flap. Using a yarn needle and a length of matching yarn, sew the end of the strap securely to the purse, stitching through both the strap and the purse fabric several times.
Repeat on the opposite side of the purse with the other end of the strap. Make sure the strap is not twisted before sewing the second end in place. Weave in all ends securely. - ABBREVIATIONS
k – knit
P – purl
p3togm3 – Purl Three Together Make Three – Purl the next 3 stitches together, but do not slip them off the left needle. Bring the yarn over the needle to make a yarn over, then purl the same 3 stitches together again. Slip all 3 original stitches off the left needle. You will have 3 stitches in place of the original 3
p5togm5 – Purl Five Together Make Five – Purl the next 5 stitches together, but do not slip them off the left needle. Yarn over, purl the same 5 stitches together again, yarn over, then purl the same 5 stitches together once more. Slip all 5 original stitches off the left needle. You will have 5 stitches in place of the original 5. (For an awesome video tutorial on how to do this stitch pattern go here)
st – stitch
Are you going to make your Shell Phone Bag in a neutral shade or pick something bright and colorful? Tell me what yarn color you are planning to use in the comments!
This post may contain affiliate links. If you purchase something through one of these links, I may earn a small commission at no additional cost to you.
The post Shell Phone Bag: Free Knit Phone Bag Pattern appeared first on The Knit in the Womb Blog.