Learning how to read cable knitting abbreviations makes it much easier to follow textured hat, sweater, sock, and accessory patterns without feeling lost when you reach a cable row. This guide is part of my collection of free knitting tutorials and breaks down the common shorthand you will see in cable knitting patterns.
Cable abbreviations can look confusing at first because they often include letters, numbers, and directions such as front or back. Once you understand what each part means, though, cable rows become much more manageable. This tutorial explains how to read cable knitting abbreviations, when to use a cable needle, what front and back crossings do, and how to keep track of the rows where your cables happen.
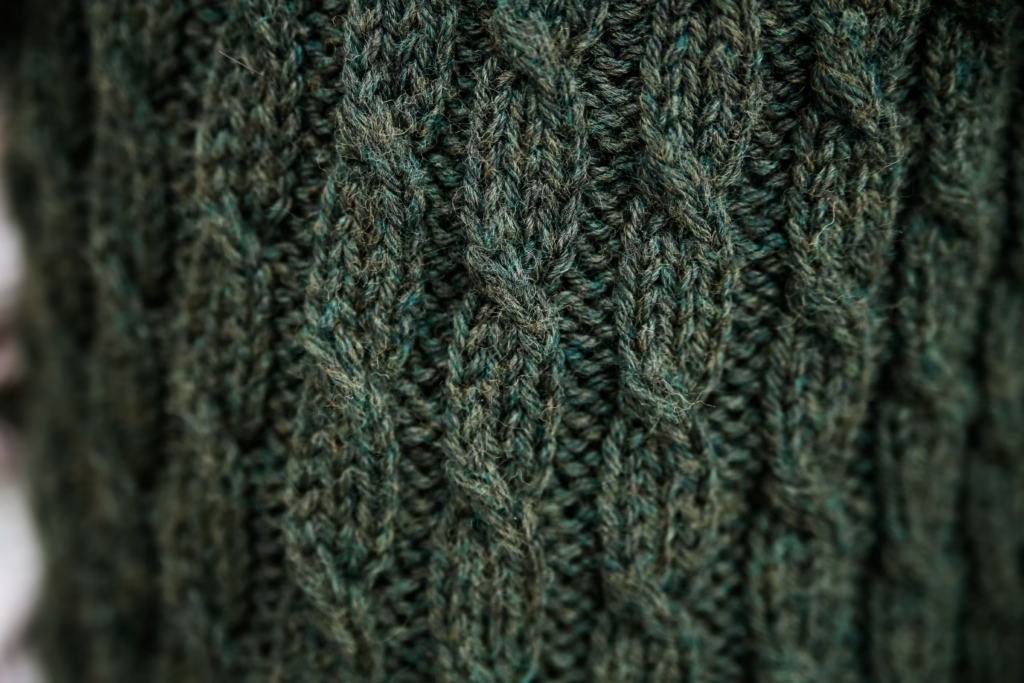
Most cable patterns are simply stitches worked out of their usual order. You temporarily hold a few stitches to the front or back of your work, knit another group of stitches, and then work the held stitches.
That small change in stitch order creates the twisted, raised texture that makes cables stand out against the rest of the fabric. Once you can recognize the abbreviations, you will be able to approach cable patterns with much more confidence.
What Materials Do You Need to Read Cable Knitting Abbreviations?
You do not need many special supplies to work cables, but having the right tools nearby can make the process much easier. The main item you will need is a cable needle, which is a short needle designed to hold a few stitches while you work the stitches around them.
Cable needles come in several shapes. Some are straight, some have a bend in the middle to help keep stitches from sliding off, and some have a small hook shape. I usually prefer a simple bent cable needle because it stays secure while I am working the next stitches.
You will also need the yarn and knitting needles called for in your pattern. Cables often show up especially well in smooth yarns with good stitch definition, such as worsted weight wool or wool blends.
A row counter, stitch markers, and a pencil or highlighter can also be helpful when you are learning how to read cable knitting abbreviations. Cable rows are usually worked every few rows instead of on every row, so it helps to have an easy way to keep track of where you are.

Many knitters also find it helpful to use a sticky note or magnetic chart keeper under the row they are currently working. This keeps your eyes focused on one instruction at a time, especially when a pattern has several cable panels across the row.
You do not have to buy every cable tool before trying your first project. A spare double-pointed needle, stitch holder, or even a small straight needle can work in a pinch as long as it holds your stitches securely.
How Do You Read Common Cable Knitting Abbreviations?
Most cable abbreviations tell you three things: how many stitches are involved, where to hold the stitches, and whether to knit or purl the stitches after crossing them. A common abbreviation may look like C4F, which means “cable 4 front.”
For a C4F, you would slip the next 2 stitches onto a cable needle and hold them at the front of your work. Then you knit the next 2 stitches from your left needle, followed by the 2 stitches from the cable needle. The held stitches cross in front, creating a cable that leans to the left.
A C4B means “cable 4 back.” For this abbreviation, you would slip the next 2 stitches onto a cable needle and hold them at the back of your work. Knit the next 2 stitches from the left needle, then knit the 2 held stitches from the cable needle. This crossing creates a cable that leans to the right.
The number in the abbreviation tells you the total number of stitches involved in the cable. A C4 uses four stitches total, while a C6 uses six stitches total. Patterns will usually tell you exactly how to divide those stitches, especially when the cable is not split evenly.
You may also see abbreviations such as 2/2 RC or 2/2 LC. These usually mean a right cross or left cross using four stitches total. A 2/2 right cross generally has you hold 2 stitches to the back, knit 2 stitches, then knit the 2 held stitches. A 2/2 left cross generally has you hold 2 stitches to the front first.
Some patterns include purls in the cable abbreviation. For example, an abbreviation may tell you to hold stitches to the front, knit a group of stitches, and then purl the held stitches. Always read the abbreviation key at the beginning of the pattern because designers may write cable instructions in slightly different ways.
The easiest way to learn how to read cable knitting abbreviations is to pause and break the instruction into smaller steps. First, identify how many stitches are being held. Next, check whether they go to the front or back. Then read what happens to the stitches before and after the cable needle.
It can also help to say the instruction quietly as you work it. For example: “Hold two stitches to the front, knit two, knit two from the cable needle.” This gives your hands a simple rhythm to follow until the process starts to feel familiar.
How Can You Keep Track of Cable Rows?
Cable rows are often separated by several plain knit, purl, ribbed, or textured rows. This gives the cable room to travel across the fabric and makes the twists easier to see. Because of this spacing, keeping track of cable rows is one of the most important parts of working a cable knitting pattern.
Start by looking at the pattern repeat before you begin. Pay attention to which rows include cable abbreviations and which rows are worked even. For example, a pattern may have cable crossings on rows 3, 7, and 11 while the other rows are worked in ribbing or stockinette.
A row counter is one of the simplest ways to stay organized. You can click it after every row, or place a marker beside your pattern instructions and move it down as you finish each row. Some knitters also write the row numbers on paper and cross them off as they go.
When you are working several cable panels across one row, stitch markers can help separate each section. Place markers between repeats so you know where each cable pattern begins and ends. This can make it easier to catch a mistake before you work too far ahead.

It is also helpful to look at the cable fabric every few rows. A left-leaning cable should continue leaning in the same direction, and a right-leaning cable should do the same. If one crossing suddenly looks different from the others, you may have held the cable needle on the wrong side.
Do not worry if you need to slow down during cable rows. It is much easier to take an extra minute to read the instruction than to go back later and fix a crossed cable several rows below.
Which Cable Knitting Patterns Can You Try Next?
Once you know how to read cable knitting abbreviations, these patterns are a great way to practice different cable styles and crossings:
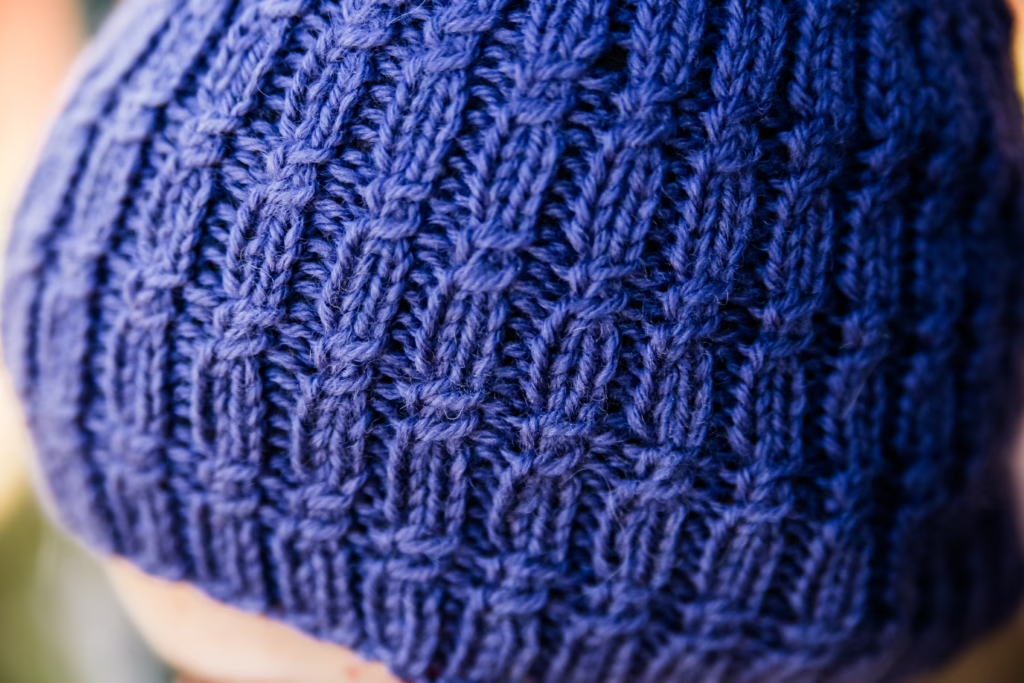
The Asa Beanie is a good place to begin if you want to practice cables in a smaller project. The repeating cable panels give you several chances to work the same abbreviation, which helps the process feel more natural as you go.
The Sorek Socks, Reuben Vest, Love Came Down Headband, and Youth Grace Sweater are all great choices when you are ready to see how cables work in different types of projects. Working cables on socks, accessories, vests, and sweaters can help you get comfortable reading abbreviations in more than one layout.

Cable knitting may look detailed, but it is built from a few simple steps repeated at the right time. Holding stitches to the front or back changes their order, and that is what creates the cable texture.
Once you understand the difference between front and back crossings, cable abbreviations become much easier to read. Keep your pattern key nearby, use a row counter, and take each cable instruction one step at a time.
Have you tried knitting cables before, or is there a cable abbreviation that always makes you pause? Let me know in the comments so I can help make your next cable project easier to follow.
This post may contain affiliate links. That means I may earn a small commission if you make a purchase through one of my links, at no extra cost to you. Thank you for supporting my free knitting patterns and tutorials.
The post How to Read Cable Knitting Abbreviations appeared first on The Knit in the Womb Blog.