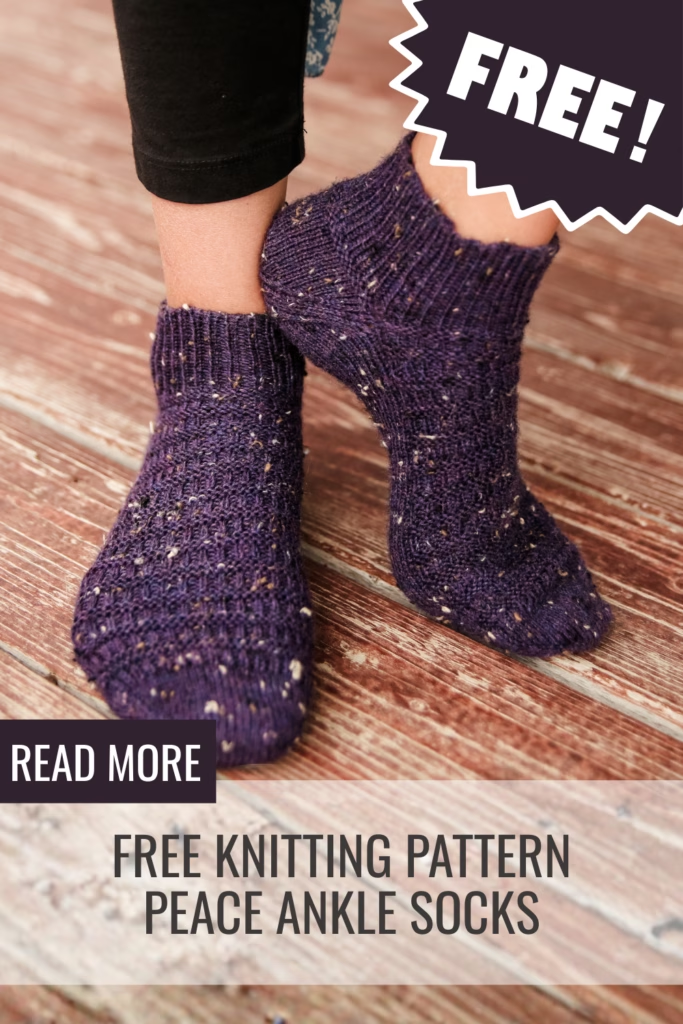
This free toe up sock pattern is a simple and comfortable ankle sock design with the same 1×1 ribbing and garter stitch details used throughout the Peace knitting pattern collection. The Peace Socks are worked from the toe up with an afterthought heel, making them a great choice for knitters who enjoy trying a different sock construction without needing to stop and turn a traditional heel flap.
If you have been looking for a free toe up sock pattern that gives you a practical pair of everyday socks while still including a little texture, this design is a helpful place to start. The toe-up construction makes it easy to try the sock on as you knit and adjust the foot length before working the heel. The ankle height also makes these socks a nice project for warmer weather, sneakers, house shoes, or quick handmade gifts.
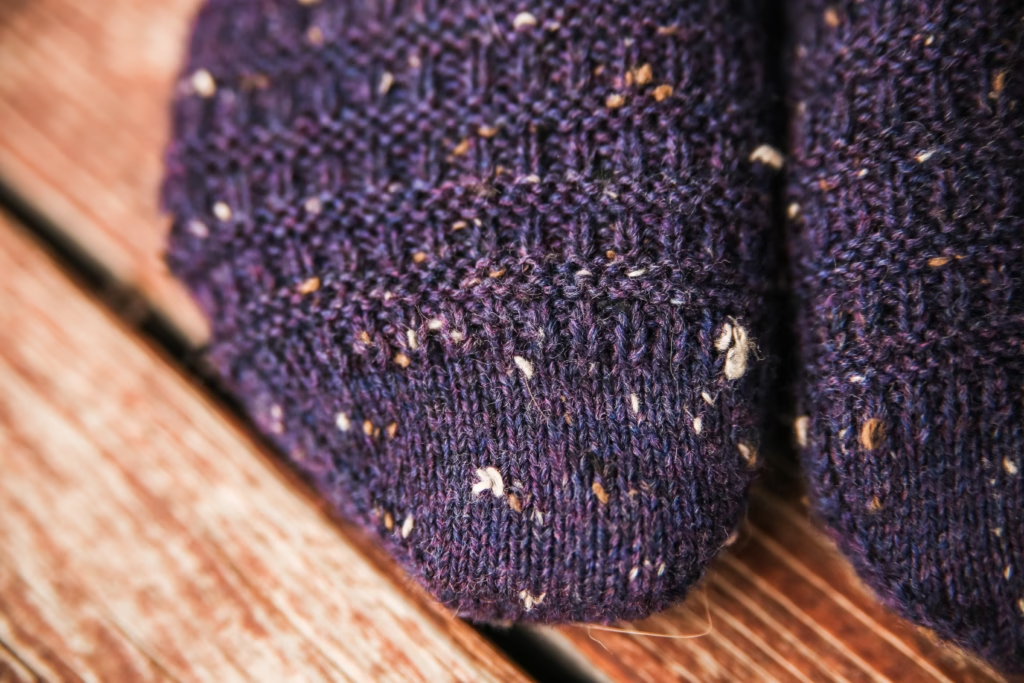
The Peace Socks have a simple texture that keeps the knitting interesting without making the stitch pattern difficult to follow. The alternating sections of 1×1 ribbing and garter stitch create a soft, flexible fabric that works well around the cuff and ankle.
Because the stitch pattern is simple and repeatable, these socks are a relaxing project when you want something with more detail than plain stockinette but do not want to keep track of a complicated chart. They are also a nice way to make a matching set with the other Peace patterns.
What Materials Do You Need for This Free Toe Up Sock Pattern?
For this free toe up sock pattern, I used KnitPicks Stroll Tweed and 2.25 mm knitting needles. Stroll Tweed is a fingering weight sock yarn with a little texture and fleck throughout the yarn, which gives the finished socks a pretty, everyday look while still holding up well for regular wear.
A sturdy sock yarn is especially helpful for ankle socks because the heel and foot will get plenty of use. KnitPicks Stroll Tweed has wool for warmth and nylon for durability, making it a good option for socks that will be worn often.
You will also need a tapestry needle for weaving in ends and working the afterthought heel, along with waste yarn for marking the heel placement. Stitch markers can be helpful for keeping track of the beginning of the round and the texture sections as you work up the foot.
The small needle size creates a firm sock fabric that will feel comfortable inside shoes while helping the socks keep their shape. Be sure to check your gauge before beginning so the finished socks fit the way you want them to.
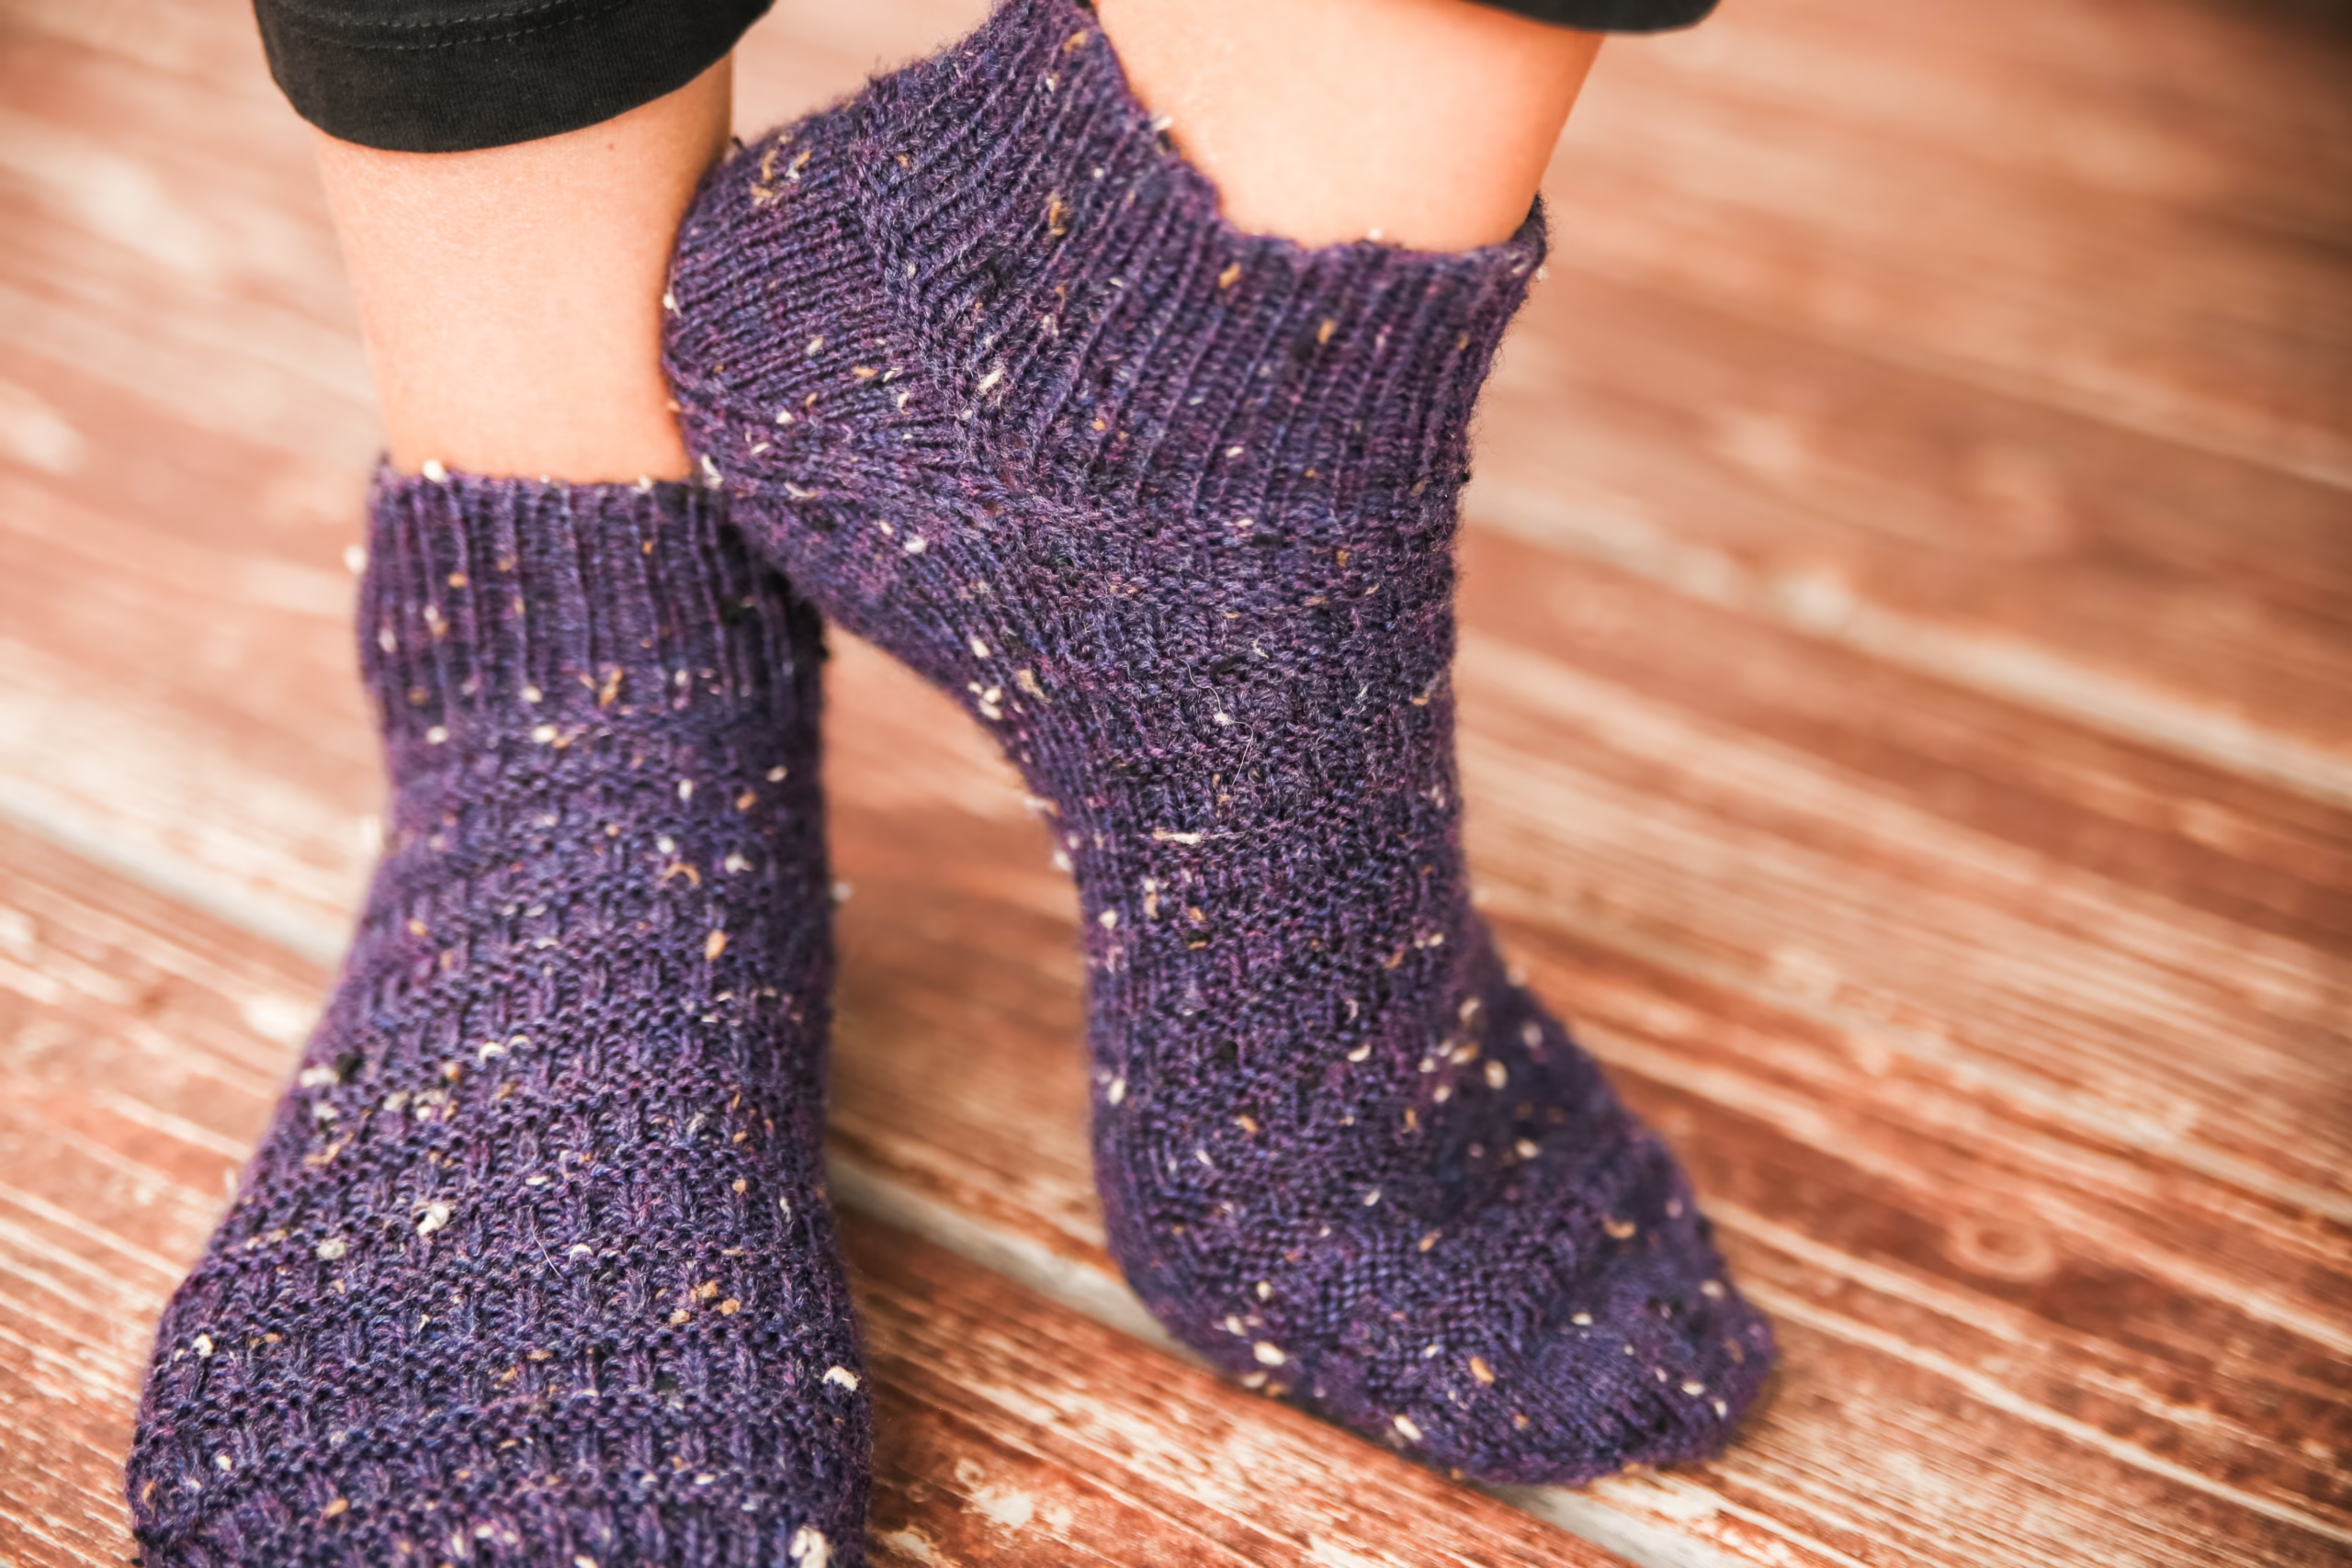
The Peace Socks are a great project for using one special skein of sock yarn or choosing a neutral color that will work with everyday outfits. The simple texture also shows nicely in solid, tonal, tweed, and lightly speckled yarns.
Since these socks are worked from the toe up, you can keep knitting until the foot reaches the length you need before placing the waste yarn for the afterthought heel. That gives you more flexibility than a sock worked from the cuff down.
How Do You Knit the Peace Socks from the Toe Up?
This toe-up ankle sock pattern begins at the toe and grows upward through the foot, heel placement, ankle, and cuff. Working from the toe up makes it easier to check the length as you go, especially when knitting socks for yourself or someone who may need a slightly shorter or longer foot.
Once the toe is complete, you will continue knitting the foot in the round. The stitch pattern includes sections of 1×1 ribbing and garter stitch, giving the sock texture while keeping the fit stretchy and comfortable.
When you reach the heel placement, you will knit a short section with waste yarn. That waste yarn will be removed later so you can pick up the live stitches and work the afterthought heel. This is a helpful method because you can keep the main sock tube moving without stopping to shape the heel in the middle of the foot.
After the heel placement is complete, you will continue knitting the ankle and cuff. The cuff is finished with 1×1 ribbing, which gives the top edge stretch and helps the ankle socks stay in place while they are worn.
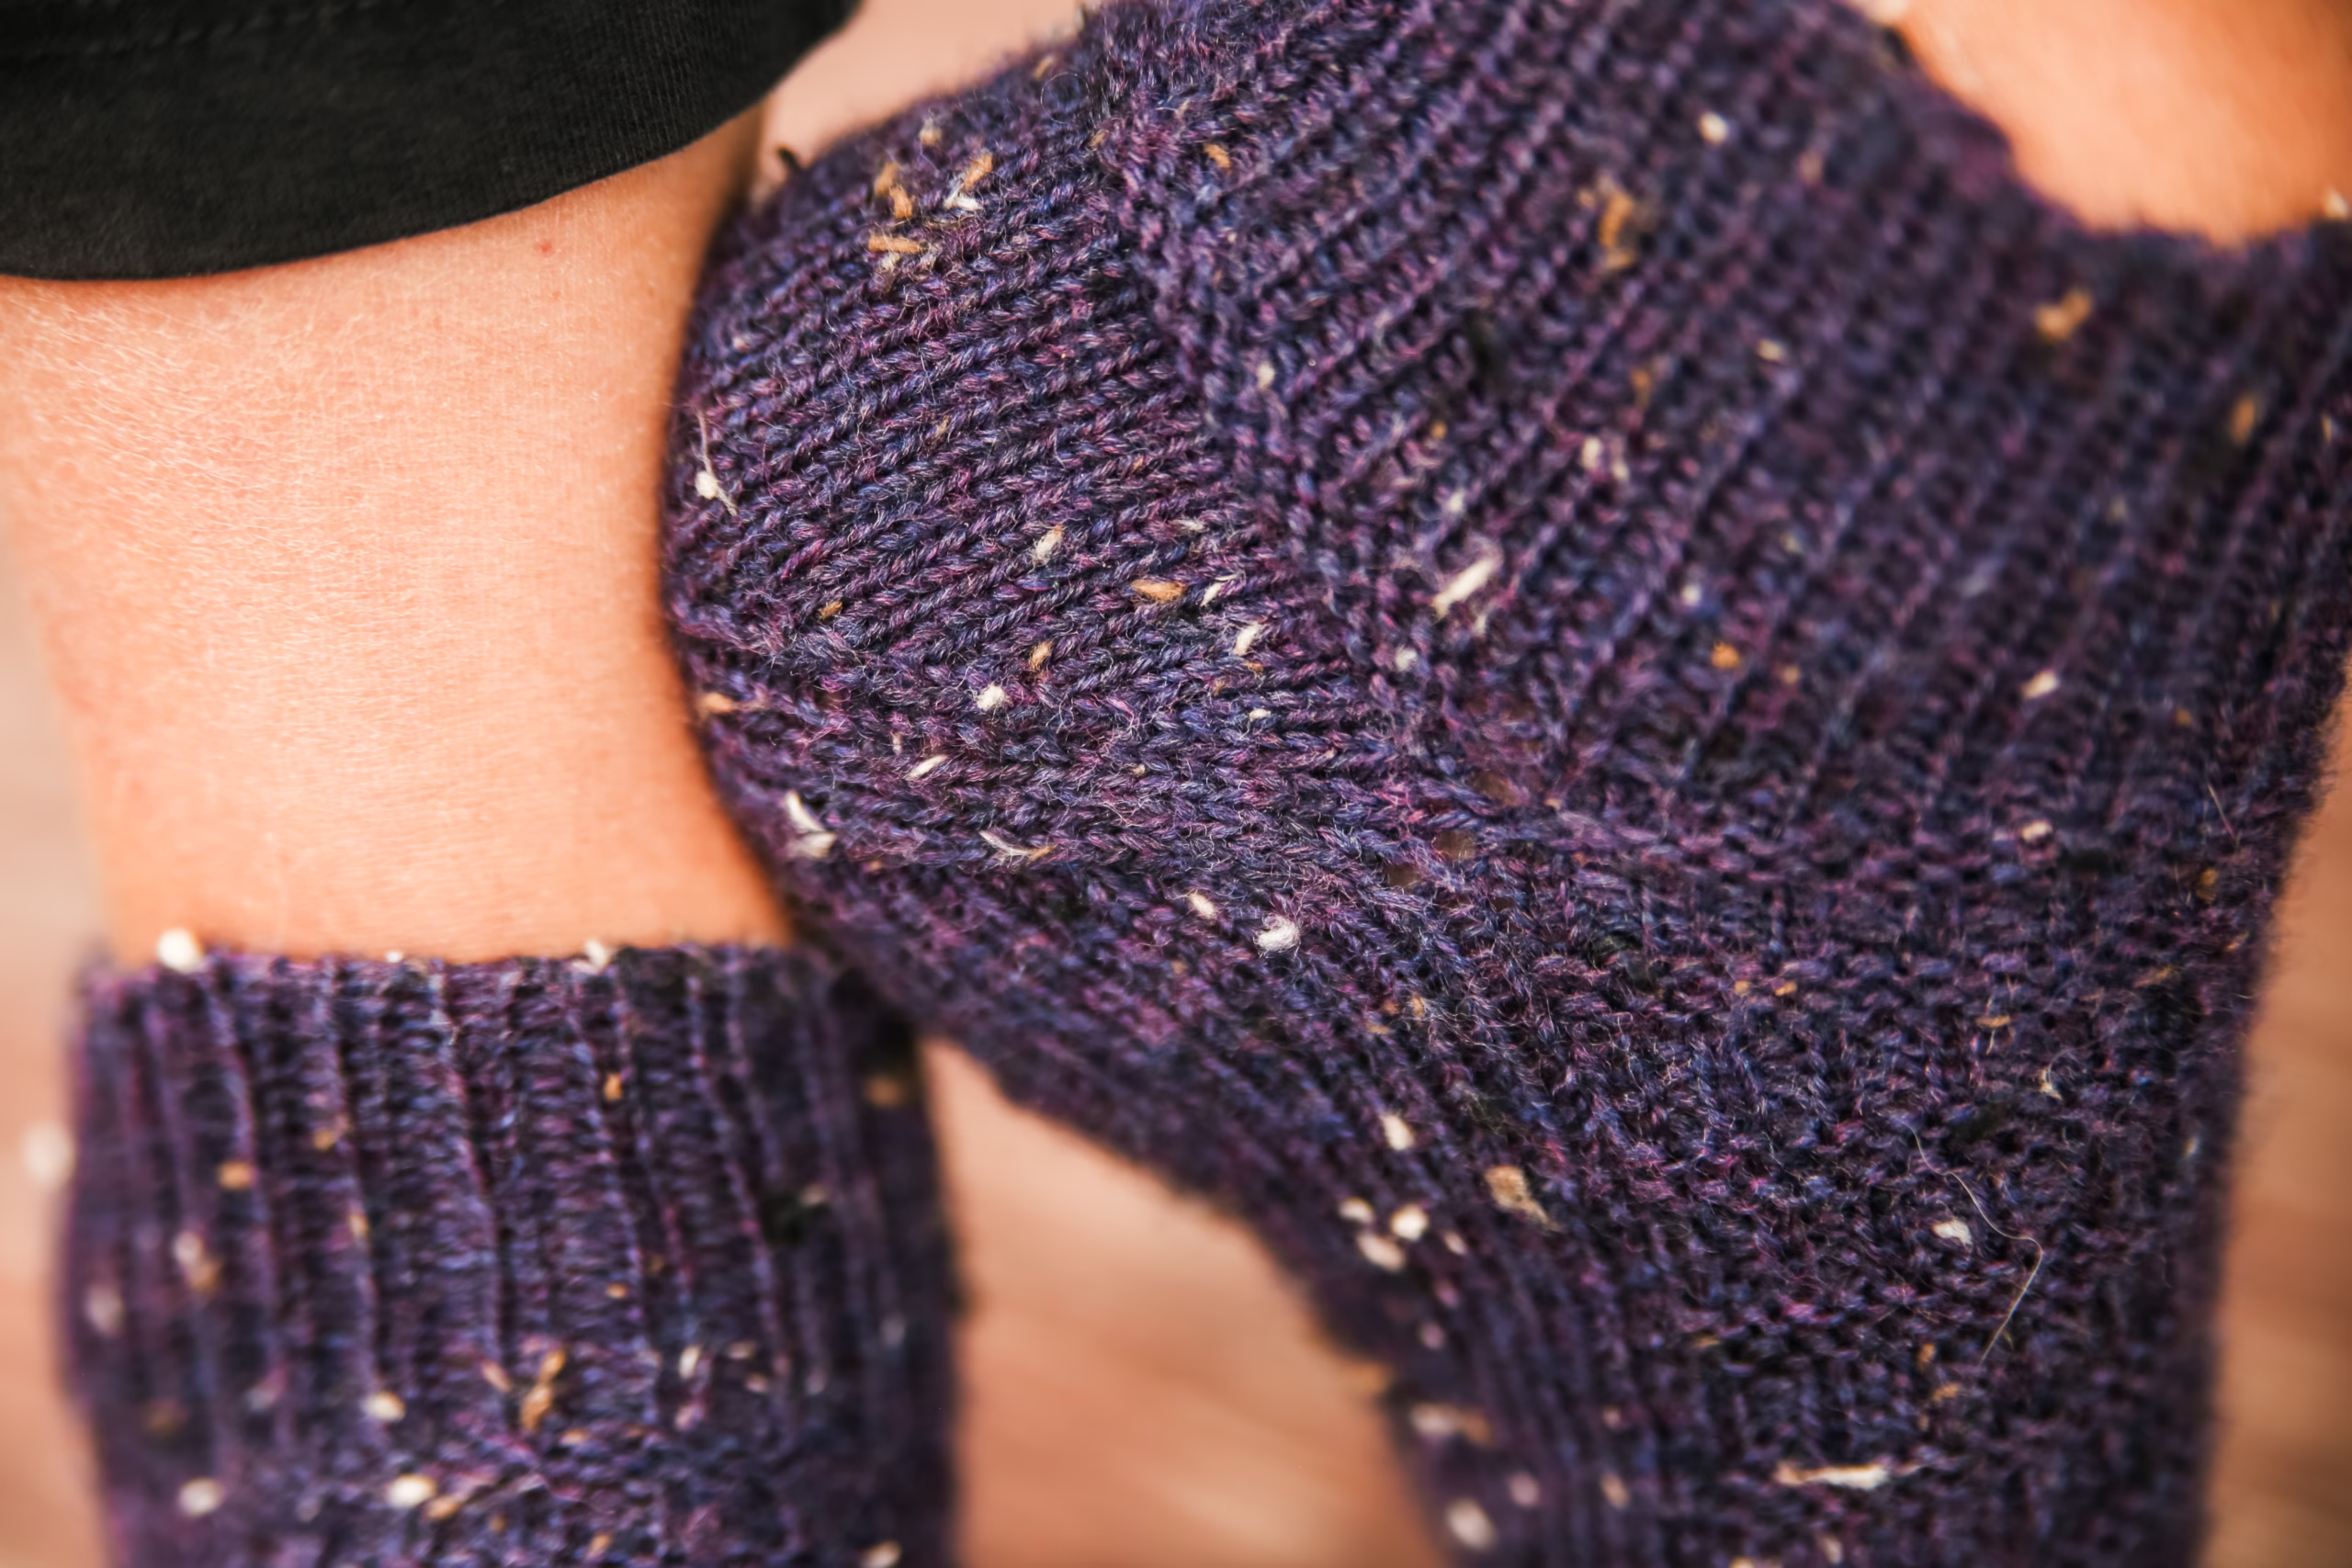
The afterthought heel is worked after the rest of the sock is finished, which can feel less intimidating for knitters who prefer to focus on one section at a time. It also makes the heel easier to replace later if that area becomes worn before the rest of the sock.
Pay attention to where the heel placement falls on the foot before beginning the waste-yarn section. Trying the sock on as you knit can help you choose a placement that feels comfortable for the wearer.
What Other Free Ankle Sock Patterns Can You Knit Next?
Once you have finished the Peace Socks, there are several other free ankle sock knitting patterns to add to your project list.
- Toe-Up Vanilla Ankle Socks
- Deborah Ankle Socks
- Hezekiah Ankle Socks
- Simone Ankle Socks
- Reuben Ankle Socks
These patterns give you a variety of sock constructions, stitch patterns, and details to try. Some are simple enough for everyday knitting, while others include texture, lace, ribbing, or small design details that give the socks a different look.
The Toe-Up Vanilla Ankle Socks are a good choice when you want a basic sock pattern you can repeat in different yarns. The Deborah, Hezekiah, Simone, and Reuben ankle socks each offer their own texture and design details, making them fun options when you want to build your handmade sock collection.
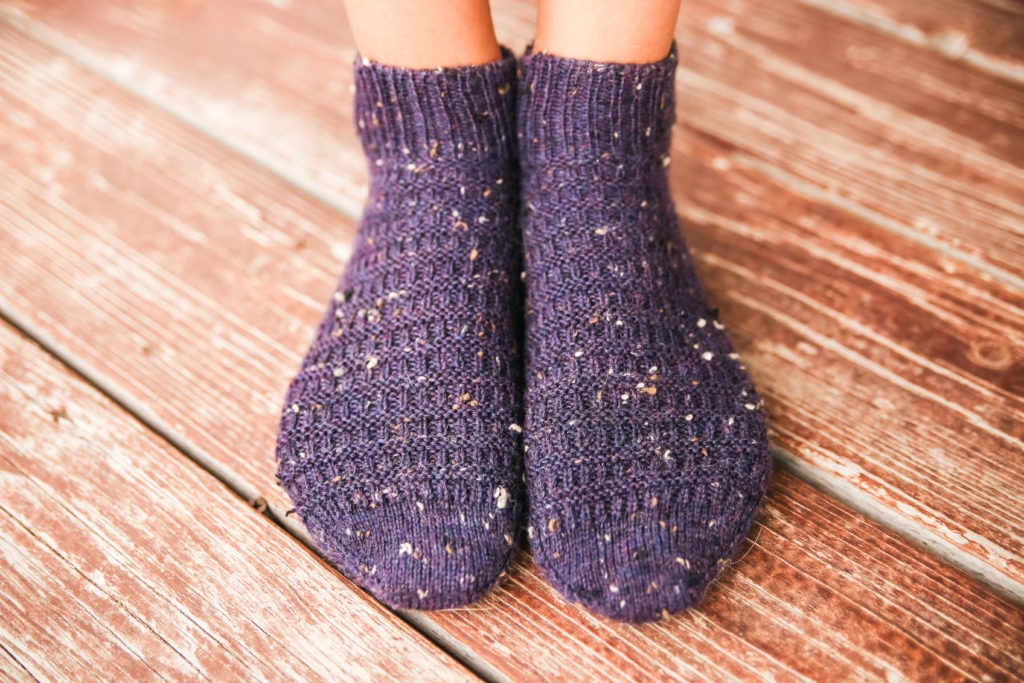
The Peace Socks are a comfortable project for knitters who enjoy toe-up construction, ankle-length socks, and simple texture. The afterthought heel keeps the construction straightforward, while the ribbing and garter stitch sections add just enough detail to make every round feel interesting.
Whether you are knitting your first pair of toe-up socks or looking for another free sock pattern to add to your rotation, these ankle socks are a useful and wearable project to keep on your needles.
Peace Ankle Socks Free Pattern
Materials:
Yarn: 120 (180, 240), 280, 300, (320, 350) yards KnitPicks Stroll Tweed
Needles: US #1 / 2.25mm DPNs (or circular for magic loop)
Notions: stitch markers, needle
Gauge: 8sts x 11rows per inch
sizing:
baby (toddler, child,) lg child, adult S, (M, L)
Finished measurements (unstretched):
Cuff (around): 5 (5.5, 6.5) 7, 7.5, (8, 9)ins/12.5 (14, 16) 17.5, 19 (20, 22.5)cms
Foot Length (adjustable): 4 (6, 7.25), 8, 9, (10, 11.25)ins/ 10 (15, 18) 20, 22.5) 25, 28)cms
Pattern Info:
This is a toe-up sock with an afterthought heel. The skills required for these are – Judy’s Magic Cast on (tutorial here), knit/purl, ssk (tutorial here), k2tog (tutorial here), M1R/M1L (tutorial here)
- Peace Stitch chart
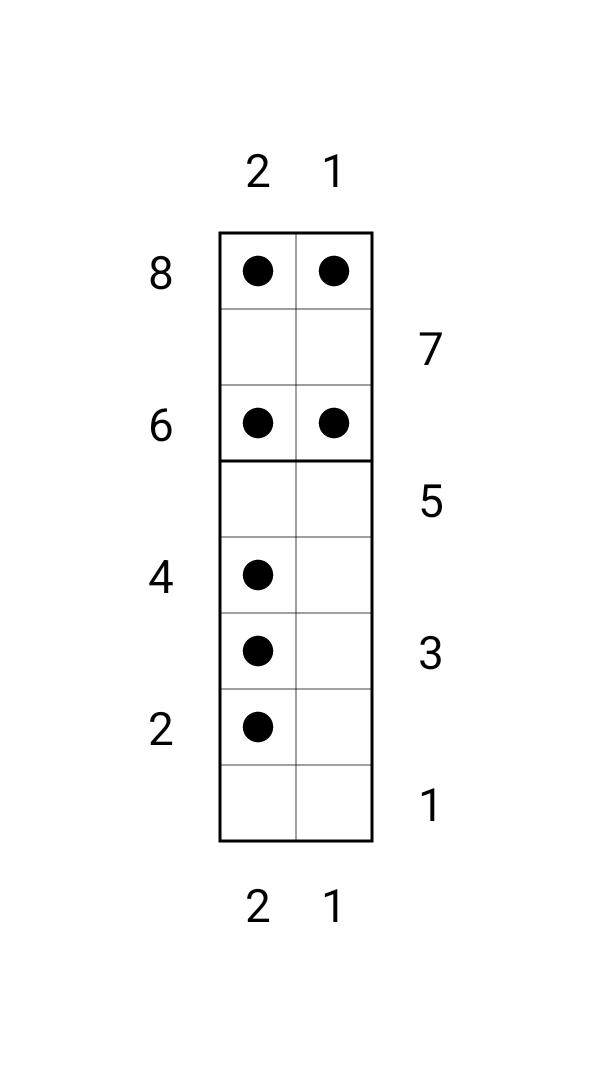
Round 1 – knit across
Round 2 – k1p1
Round 3 – k1p1
Round 4 – k1p1
Round 5 – knit across
Round 6 – purl across
Round 7 – knit across
Round 8 -purl across - Toe
Cast on using Judy’s magic cast on 16 (16, 20) 20, 20, (24, 24) sts
Round 1 – Knit around
Round 2 – k1, m1l, knit to 1 st before end of needle, m1r, k1, pm, repeat on second needle.
Repeat the above 2 rounds for 6 (7, 8) 9, 10 (10, 12) until there are 40 (44, 52) 56, 60, (64, 72) sts on your needles. Place
When using dpn: Needle 1 is the top of foot, needles 2&3 are the bottom of foot. I will be using this distribution of stitches for the remainder of the pattern for descriptive purposes. If you are using magic loop the markers are bor and end of top of foot. - Foot
Continue working in the round, working the top of foot in stitch chart pattern, until the piece measures 3 (5, 6) 6.5, 7, (8, 9)ins/7.5 (12.5, 15) 16, 17.5 (20, 22.5)cms from back of heel, or 1 (1, 1.5) 1.75, 2, (2, 2.25)ins/ 2.5 (2.5, 3) 3.5, 4 (4, 4.5)cms short of desired foot length ending after completing a round 3.
- Heel
Work across top of foot in pattern – 20 (22, 26) 28, 30 (32, 36)sts. Cut yarn leaving enough to weave in ends.
With a spare yarn knit across bottom of foot – 20 (22, 26) 28, 30 (32, 36)sts. Cut yarn.
Join main yarn again. - Leg
Work rounds 6-8 of stitch pattern all the way around then work a round 1
- Cuff
Work in 1×1 rib (k1, p1) for 16 (16, 20) 20, 20 (24, 24) rounds.
Bind off using your favorite stretchy bind off. I like to use a sewn or Italian bind off. You can always add a thread of elastic in the bind off to help it from getting stretched out from repeated use. - Afterthought Heel
Pick up and knit 20 (22, 26) 28, 30 (32, 36)sts from bottom of foot, pm, pick up and knit 20 (22, 26) 28, 30 (32, 36)sts from bottom of ankle, pm (this is your bor marker).
Work in stockinette st (knit every round) for 6 (6, 6) 6, 8 (8, 8) rounds.
Decrease round 1 – k1, ssk, knit to 3sts before marker, k2tog, k1, sm, k1, ssk, knit to 3sts before marker, k2tog, k1 16 (18, 22) 24, 26 (28, 32)sts
Decrease round 2 – knit around sm as you get to them
Continue working decrease rounds 1 & 2 for a total of 6 (7, 8) 9, 10 (10, 12) times until you have 16 (16, 20) 20, 20, (24, 24)
Cut yarn leaving a 12” tail, then graft heel using Kitchener stitch.
Weave in all ends - Kitchener stitch:
Place half the stitches on one needle, half the stitches on the other needle, (top and bottom NOT side to side)
Cut yarn (leaving a long yarn tail) and thread through a blunt needle. Set-up steps: Insert needle purlwise (back to front) through the first st on front needle, leaving the st on the needle. Then insert needle knitwise (front to back) through the first st on the back needle, leaving the st on the needle.
Step 1: Insert needle knitwise through first st on front needle, then slip this st off the needle.
Step 2: Insert needle purlwise through the second st on front needle, leaving the st on the needle.
Step 3: Insert needle purlwise through first st on back needle, then drop this stitch off the needle.
Step 4: Insert needle knitwise through second st on back needle, leaving the st on the needle.
From this point to the end, repeat steps 1-4.
Kitchener stitch can be intimidating, but you get into a rhythm:
Front needle: knitwise drop off, purlwise leave on,
Back needle: purlwise drop off, knitwise leave on,
Repeat!
At the end of the row, there is only 1 stitch left on each needle.
Work steps 1 and 3 once more.
For a left-handed video tutorial of this visit my youtube here - ABBREVIATIONS
Bor – beginning of round
k – knit
k2tog -knit 2 stitches together
m1l – Insert the left needle under the strand that runs between two stitches from front to back, then knit this strand through the back loop
m1r – Insert the left needle under the strand that runs between two stitches from back to front, then knit this strand
P – purl
pm – place marker
ssk – slip next st knitwise, slip next st knitwise, place stitches back onto left needle, knit both slipped sts together
sm – slip maker
st – stitch
sts – stitches
Have you tried knitting a toe-up sock with an afterthought heel before? Let me know in the comments whether you prefer toe-up socks, cuff-down socks, or a little of both.
This post may contain affiliate links. That means I may earn a small commission at no extra cost to you if you make a purchase through one of my links. Thank you for supporting my blog and helping me continue to provide free knitting patterns and tutorials.
The post Peace Socks: Free Toe Up Sock Pattern with an Afterthought Heel appeared first on The Knit in the Womb Blog.